(I feel like I need to warn you right up front that this is a bit of a long post, so if you don't have at least 5 minutes to spare, you might just want to bookmark it and come back later? But, please do come back! I'll be sharing a lot of first impressions as well as a few recommendations for items that I've tried! If you're not busy at the moment, pull up a chair, grab a cuppa joe, or a glass of wine and I'll spill it all out on the kitchen table for ya!)
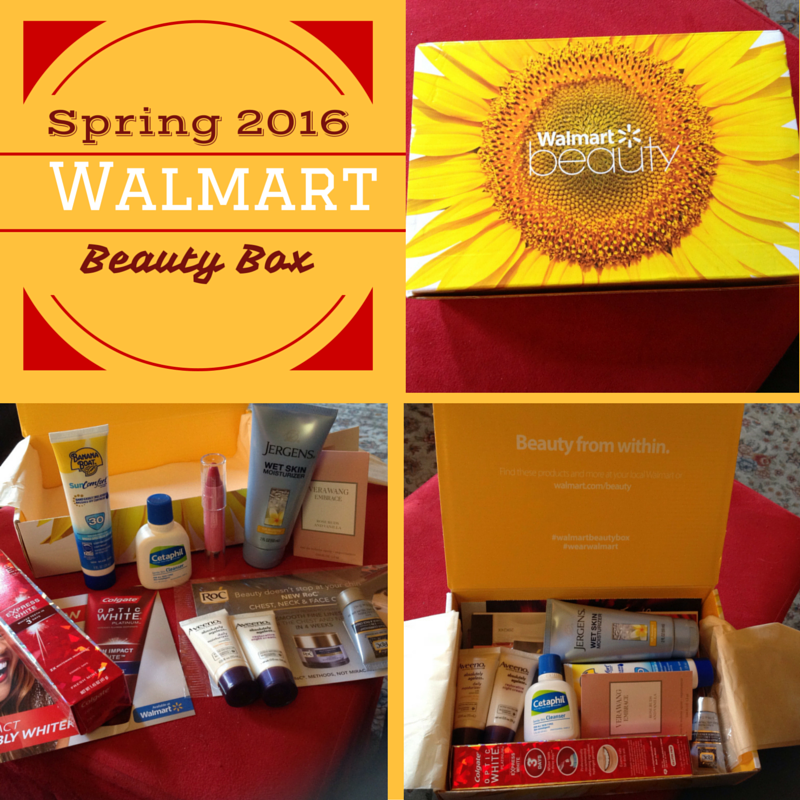
So... It's that time again! Another quarter is here and with it, comes the Spring edition of the Walmart Beauty Box! I haven't done an unboxing in quite a while, so I thought it was about time. I've gotta tell ya... I really enjoy this li'l box of goodies. It's actually kinda ridiculous that I get so giddy when it arrives in the mail. I mean, it's not like Publisher's Clearing House suddenly showed up at my door with a big fat prize check or anything, right? (hmmm... wouldn't that be nice?)
Ahem... Uh, sorry about that. I got a little distracted, planning just exactly how I would

Oh lordy! There I go again. Drifting off into a land of fancy cars, grand homes located all over the world and well, you know, the necessities in life, right? I mean, you can't honestly tell me that you've never given even a little thought to what you would do, if you suddenly came into an obscenely large amount of cash, can you? Yeah... I didn't think so. So! What would you splurge on? Let me know in the comments!

OK. Let's get on with the Spring Beauty Box, eh? If you're unfamiliar with this subscription box, I'll give you the details throughout this post. And here's a link to the site, in case you'd like to give it a go yourself. Walmart Beauty Box
(While I do have a couple of referral links here on the blog that allow you and I to receive a discount or some type of perk for using it, (like Ipsy and Scentbird) I wanted to state, up front, that this is NOT a sponsored post and I am NOT using a referral or affiliate link for the Walmart box. If you do decide to use the link that I'm providing above to get to the site, I won't receive any compensation, or points, or anything like that. I just figured that I'd save you all a few keystrokes. LOL)

You know, for $5 (which is technically just the shipping cost) this is an awesome way to discover new products, or products that you might already know about but you just haven't had a chance to pick up for yourself. I've been subscribed for going on 2 years now and just about every box that I've received, has contained (at the very least) one thing that I'd been really wanting to try, but I just hadn't gotten around to going out and getting it.

The box comes quarterly (every 3 months) and on average, there are usually 5 to 6 deluxe or full sized products and anywhere from 4 to 6 samples of everything from makeup to perfume to skincare and even health and beauty aisle items, like toothpaste, deodorant, body wash and all of that good stuff. Most of the smaller samples come with pretty decent coupons for the products, too. This is currently only a quarterly subscription, but I really wish that it was monthly. I'm so happy with this box that I'd happily sign up for that in a heartbeat!
Plus, unlike the ever elusive Target Beauty Box, you can actually subscribe, so that you don't have to constantly check back on the website at the beginning of every month, hoping that you'll see when it goes up for sale so you can grab one before they're sold out. Those boxes usually sell out in the first couple of hours and they don't do a second run or a restock. I've been trying (unsuccessfully) for over a year to get my paws on one! Grrr! But, I digress. Back to the box I do have, eh?

You'll often see a couple of products that are from the same brand, like shampoo and conditioner, or a couple of different formulas of the same brand's moisturizer in this box. Sometimes, you'll have one full sized item from a company's line and then a card with a foil packet sample of another one of their products. And that card generally has a coupon for one or both of the products on it. I've found that they're usually surprisingly generous discounts, too. As you'll see in the photos, this box had a Neutrogena, Olay, Aveeno kind of theme to it and I've gotta say that I'm not the least bit unhappy about that, because I already love many of their products!

This Neutrogena Moisture Smooth Color Stick (#140 Pink Grapefruit) is not only one of the items that I've tried from this quarter's box, but I instantly fell in love with it! It's a beautiful shade of slightly blue toned pink and it's so creamy and moisturizing, but not at all sticky like some creams or balms can be. I think it's just perfect for the Spring and Summer & I know that I'll be rockin' this one a lot! Plus, they're only like... $7! For me, that beats a $20+ high end lipstick every time!

To be honest with you, I've been more than a bit obsessed with all of the "new" matte liquid lipsticks for a while now, so I've been completely ignoring all of my creamy, balm-ish or moisturizing lip products.
Because of that, I doubt that I would have even looked at this lovely lippie on my own. I would have passed right by it in the lipstick section and never thought twice about it! Seriously. But now, I'm chomping at the bit to go get more shades for Summer!

Can you believe how gorgeous this is? And for such a buttery, creamy lipstick it has excellent opacity that just glides over your lips. The best part is that it has some excellent staying power, for what I would compare to say... a NYX Butter Gloss. It feels terrific on the lips, to boot! Winner all around!!

I was interested to see a concealer/corrector sample (also from Neutrogena) in this box, but I won't be trying this one out. I always avoid anything that's labeled "anti-acne" because about 90% of products labeled as such contain salicylic acid, which I know is fantastic for acne prone skin, but it's way too harsh on my super sensitive skin & would aggravate the nasty (Malar) rashes that are common when you have a disease like Lupus.

So, that brings me to the next sample - also from Neutrogena. (see what I meant about a theme?) Well, ever since emilynoel83 (from Beauty Broadcast channel on YouTube) talked about the Healthy Skin Anti-Aging Foundation back in the early part of last Winter, I've had my eye on it as a possible (and much less expensive) Summer swap out for my beloved Bye Bye Foundation from It! Cosmetics.
The Healthy Skin Foundation costs between $12 and $16 for a 1 fluid ounce bottle, depending on where you purchase it. You can get it for considerably less if you're lucky enough to find it on sale, or if you have a coupon or a discount code. It's available at Ulta and pretty much any drugstore or retail establishment that has a makeup department. It's also available online at several locations.
OK. Brace yourself. The Bye Bye Foundation is... $65 for just under 2 fluid ounces. Yup. You read that right. It's not a typo. But... A little bit goes a loooong way and I promise you that it does exactly what Jamie Kern Lima says it does on her infomercials and on QVC.
I've seriously tried a gazillion foundations over the past few years and with my super sensitive, extremely dry skin, it's not easy to find one that will cover the angry red blotches and welts from the rashes I get, without causing me even more irritation and/or inflammation. I wore the It! CC+ w/SPF 50 for about 2 years and then the Bye Bye Foundation launched. When I say that it literally changed my life for the better, I'm not joking. So, yeah... It's been worth every penny to me. But if I can find a comparable replacement for a fraction of the price, you can bet that I'm gonna be all over that!
Their Hydro Boost Water Gel is my go-to moisturizer all Summer long, because it absorbs so completely and doesn't get oily on those super hot and humid days the way a lot of heavier moisturizers often do. Plus, it's packed with really "good for you" ingredients.


Next up, we have a couple of Olay samples. I haven't tried the Olay Regenerist Luminous Tone Perfecting Cream, because I'm not sure that it's a product that I'm interested in using down the road. If I do decide to try one, it will be the Olay Regenerist Micro-Sculpting Cream. I've yet to find a product that makes a noticeable difference in the lovely (NOT) jowls that have begun to appear along my jaw-line these last few years. If I give it a go, I'll come back here and add an update to let you all know my thoughts on it!

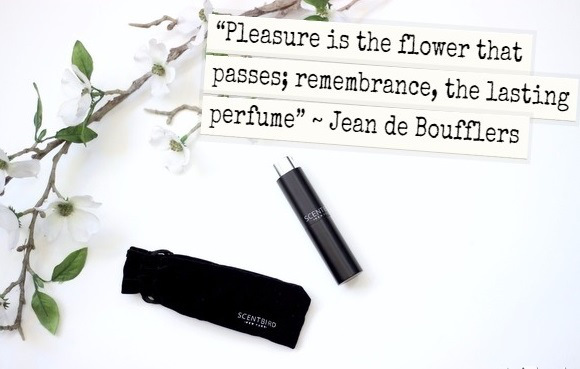
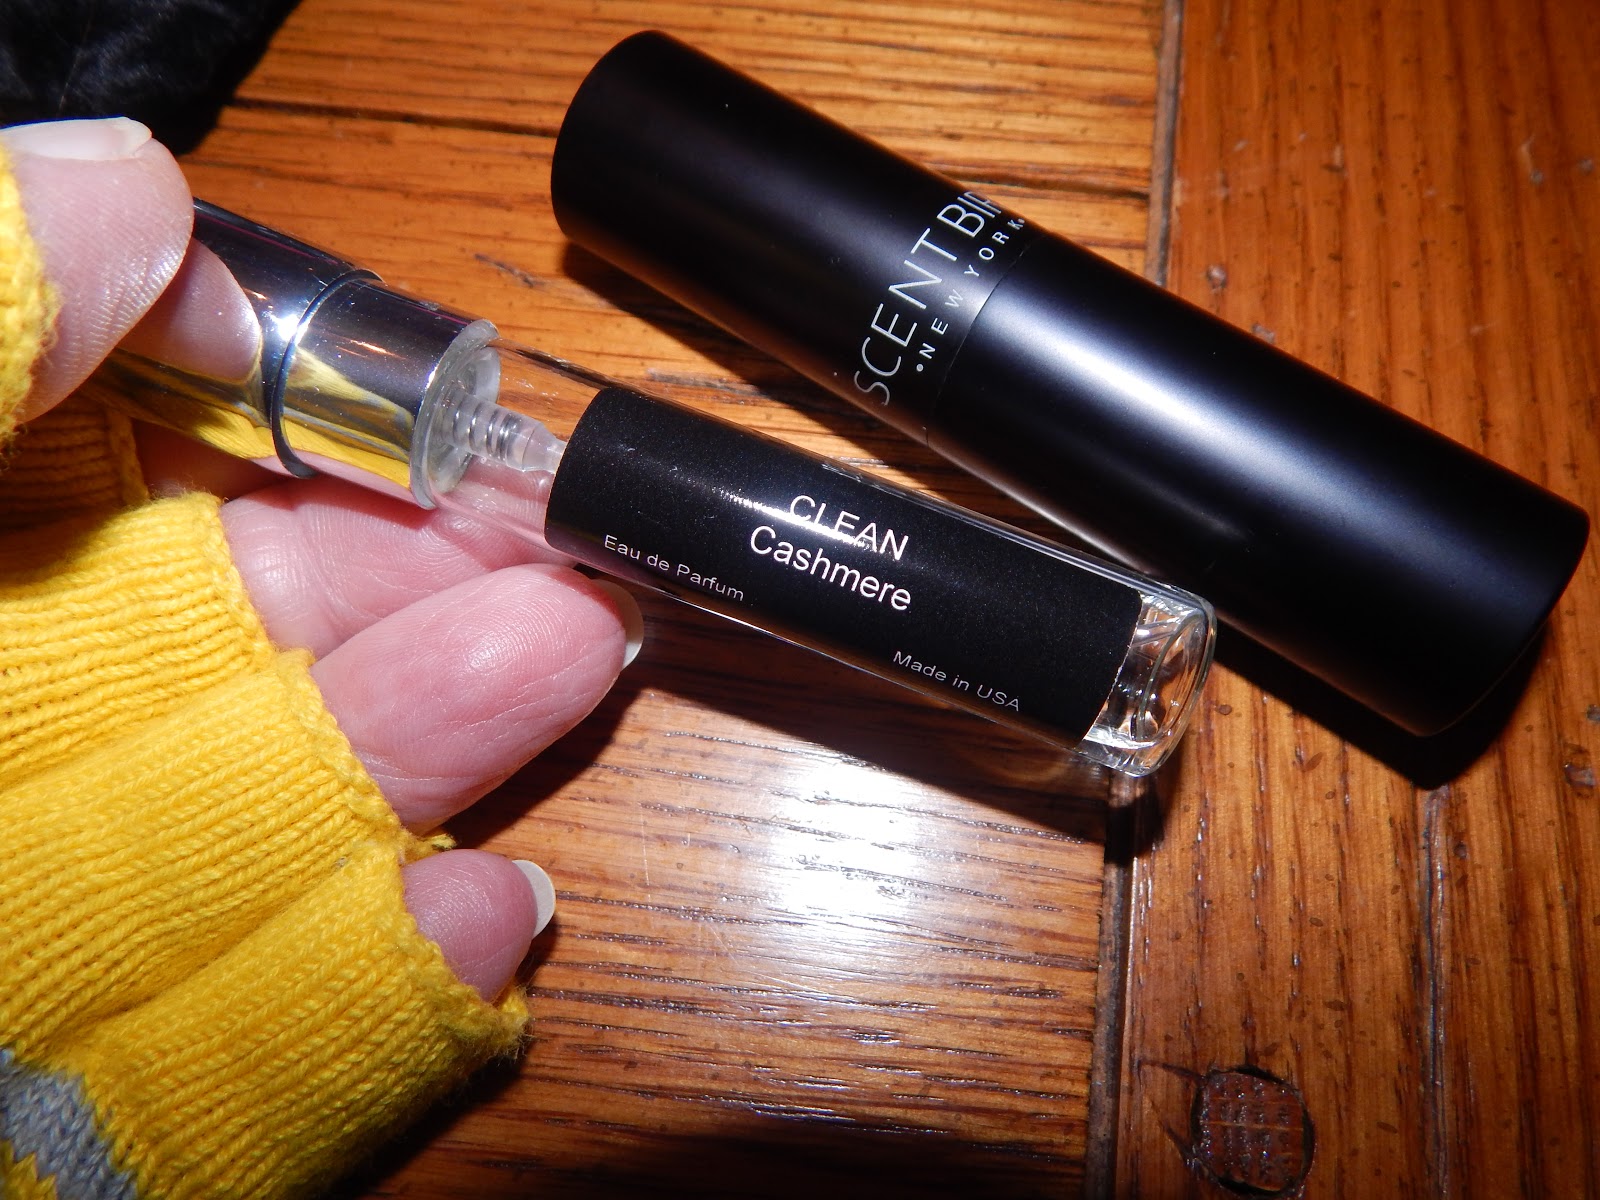
I do enjoy getting perfume samples now and then and I definitely prefer the little glass bottles that have a spray-top, like this Vera Wang Embrace sample. I have to admit though, that I don't get as excited about getting them, now that I have my subscription to Scentbird. Scentbird gives you 20 times the amount and I'm going to try not to sound like a total snob here, but the fragrance choices that you get from Scentbird are a bit higher end than the "drugstore" brands that you get in these boxes.
Now, when I use the term "drugstore" I'm in no way trying to disparage either the products or the names behind them. I mean, I love Vera Wang... As a matter of fact, when our daughter was married in 2013, her wedding dress was from Vera Wang's "White Collection" and it was absolutely breathtaking! And it just goes without saying that more then a couple of my "holy grail" makeup products are from the drugstore.
Bottom line: This Vera Wang fragrance is very nice, but it has a tad too much of vanilla and not quite enough of the floral and citrus notes - for my personal taste. That being said, if you're a vanilla gal, I think you'll absolutely love this one!!
 |
| Source: Google Images - (not my daughter) Vera Wang White Collection Style# VW351011 |

I do like to use a whitening toothpaste because I'm an avid coffee and tea drinker. I've tried a few, including my current brand (Crest 3D White), but this Colgate Optic White is one of the brands that I haven't used yet, so I was very happy to see it in this box! I'll come back and post an update later, after I've had a chance to give it a good test!

Ahhh... Good ol' RoC! I currently use the RoC Retinol Correxion Deep Wrinkle Serum under my daily moisturizer as part of my daily skin care regimen and I've been more than happy with the results. I've only used this RoC Multi Correxion 5-in-1 Neck and Face Cream a few times, so I don't feel that I can give you an honest review just yet. All I can say, is that if it ends up giving me similar results to the serum, I'll be a very happy camper! I've lost a fair amount of weight over the past year and much to my horror and dismay, I've been noticing a bit of what I call "chicken neck" (crepeiness) when I look in the mirror these days! Yikes!! I'm keeping my fingers crossed that this new cream will firm that area up a bit.

I'll be honest about this Banana Boat SPF 30 Sunscreen... I use makeup that has a physical sunscreen of 50 built right into it and I really don't expose the rest of my body to sunlight - if I can help it. With Lupus, one of the things that happens to you is severe photosensitivity and since I'm already a super pale skinned lass of Irish descent, I've been beyond sensitive to the sun my whole life. So, needless to say, I avoid the beach like the plague and if I'm swimming in or sitting by a pool, I stay in the shady parts, even if that means moving my chair or myself around as the sun moves throughout the day. That being said, this will get passed on to my husband, or to one of my friends.

This Jergens Wet Skin Moisturizer is awesome! I don't know if I can chalk it up specifically to the Monoi Oil in this product or not, but I've been using it in the shower for the past couple of weeks and my skin is smoother and more hydrated than it has been in years! Especially my legs. Once I'm out of the shower and I've patted my skin dry, I follow up with a dry oil spray that also contains Monoi Oil and I'm good to go! Now, the real test will happen during the Winter months, but if it's working this well now, there's at least a chance that it will be better than the multitude of products that I have been using during past Winters.
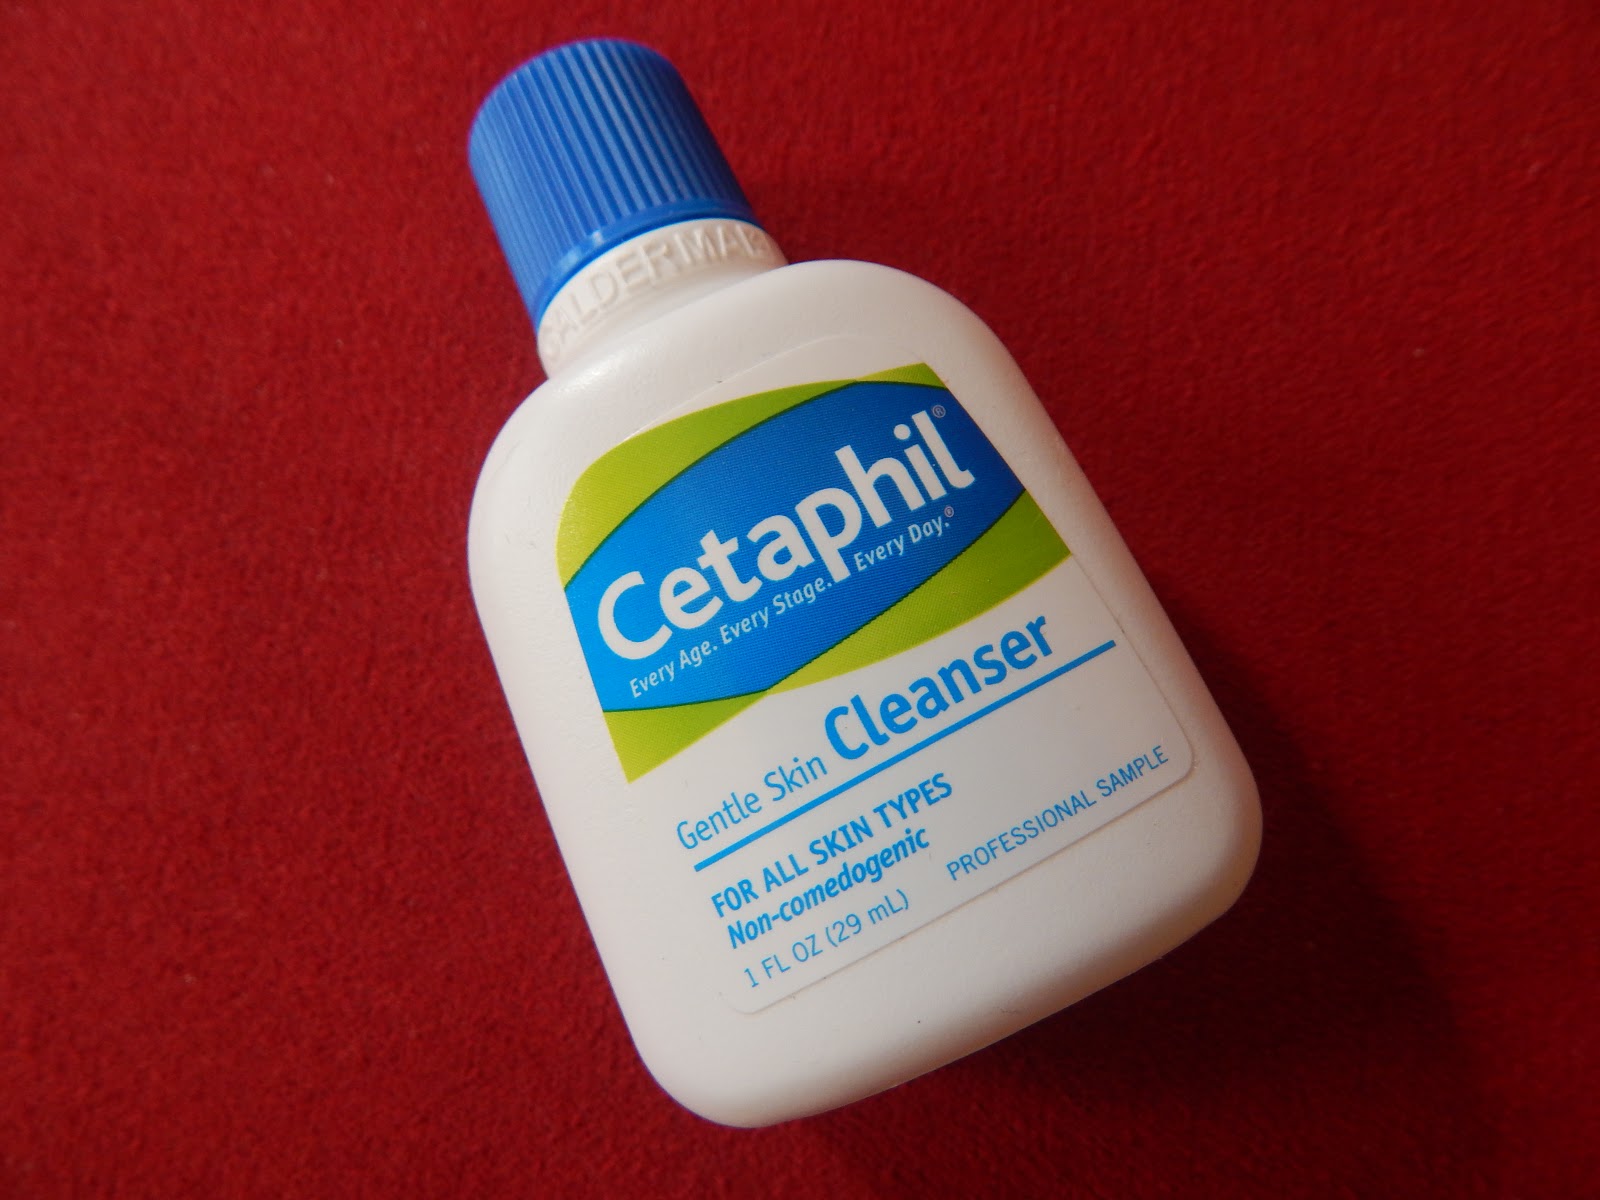
I've used Cetaphil products on and off for years and I've always been happy with them. I still use their daily facial moisturizer from time to time, but I haven't used this Cetaphil Gentle Skin Cleanser since I discovered my Purity Made Simple by Philosophy. It's a bit pricey compared to lots of other cleansers on the market, but I've had such truly amazing results with the Purity, that I'm willing to spend the extra money for it. But, if you're looking for a good cleanser that will gently and thoroughly remove makeup and excess oil from your skin, that won't dry you out or break the bank, I highly recommend this!

I honestly think there has been some type of moisturizing cream or lotion from Aveeno in just about every Walmart Beauty Box that I've received, since I've been subscribed. And as far as I'm concerned, that's a VERY good thing! I adore the Aveeno brand and have used loads of their products for years and years. I will definitely be testing out both the Absolutely Ageless Daily Moisturizer and the Restorative Night Cream that came in this box!
Their Soothing Oatmeal Bath packets saved my poor daughter from scratching herself raw when she came down with chicken pox at the age of ten. (wow... I just realized that was 22 years ago!!!!) The poor girl was covered from head to toe with huge, red, welts and her face was so swollen, she was unrecognizable. I can still vividly remember her coming into our bedroom and waking me up in the middle of the night - many nights - and asking me if I'd "put some of that stuff in the tub for me, please?" Now that she's a mom herself she uses the Aveeno Baby products, almost exclusively, on our precious grandson.
I have at least one of the small sample or travel sized tubes of some type of an Aveeno lotion or cream in my purse at all times and I have giant tubes of the Ultra Healing and Intense Relief hand creams in darned near every room of the house. Having an immune system that's as crazy as mine, means that I wash my hands about 30 times a day. (at least!) If it wasn't for Aveeno's amazing products, I'm sure they'd have shriveled up and fallen off by now!
So, do I recommend the Aveeno brand? Well, Yes! YES! YES! and YES! In my humble opinion, when it comes to your skin, whatever it is that you might have a need for, Aveeno has a solution!
Hope you enjoyed this unboxing! The Summer box should be here any day now, so I'll try to do a post for that one as well. Oh, and...
I don't want to give it all away, (ahem...) but there's something kinda big coming up here on the blog very soon!! So keep checking back, or better yet, make sure tosubscribe to Spilled On The Kitchen Table so that you don't miss out on any of the fun!
If you're viewing this on a desktop or laptop, you'll find a box over to the right in the side bar where you can enter your email address, hit submit, check for the confirmation email where you'll finish the subscription and you're all set!
If you're viewing this on a tablet or phone, there's a handy little box right below where you can do the same thing! Be sure to follow me on social media as well, to keep up with what's going on in my world!